I am overhauling the brakes and replacing the springs and shock absorbers all around.
I thought I would take some pictures and write up a little about what I did so maybe others can find this info helpful.
For brake reference other than the manual,
this site has all you need
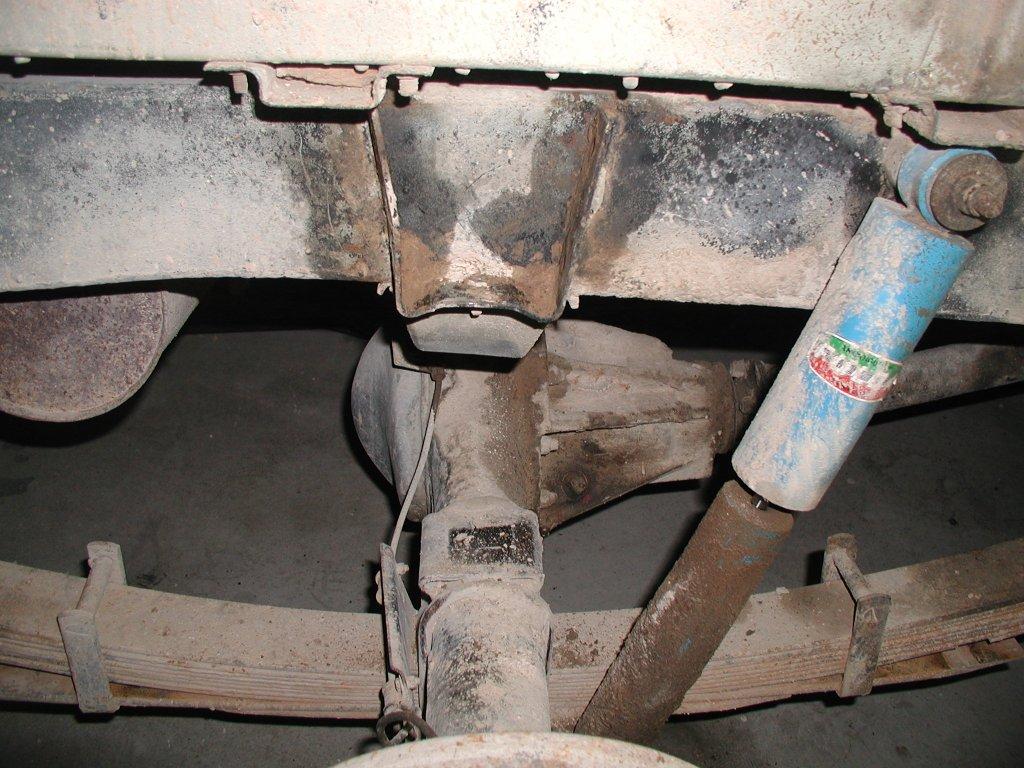
I am doing as an example the rear right side (near side).
This is the starting point, everything very old and worn out.
First I took out was the limiting strap, I am not going to put one in, I don't think is needed, specially if you don't plan to off-road the series too hard. Here you can see the sorry state it was in.
No more rags :)
So how long is the strap?, well I don't care, but I see this question asked a lot, so here it is 84 cm. and I put some other pictures to see where the holes go
After fighting with the old spring I took it out. Advice: leave the bolts on while wrestling your way with it, if you leave one side loose it's very hard to undo the other side.
As you can see I leave the shock absorber for the last thing, as it helps a bit to hold the spring in position, just a bit, the original rear spring is
*very* heavy.
After a little clean up the new spring goes in, I put one side first and then I used a jack to hold the other end, while working my way with the bolt.
Here you can see that the bolt/nuts and hole, don't align well. Don't panic.
Here I use a hand winch (in the front I used an extra jack) to move slightly the axle so the hole and bolt gets centered.
Make sure the bolt on the shock plate aligns too before even trying to do the U-bolts
Well, spring & shock done, don't tighten too much everything, as it needs to be done when the car goes on the floor with the tire and everything.
Now is time to clean the brakes, first I disposed any dust (which can contain asbestos) in a safe zip bag, no blowing or vacuum cleaner should be used for this.
Then I used brake cleaner to get all the dirt down into a container, this way, there is no dust.
Remember, security first, second and third :)
Here you can see the back plate after cutting with the grinder the adjuster
All the brake bits go back, the springs are kind of tricky to get right, this is what I do: I place the shoe that has both springs first, I put the long one first, make sure it goes *
behind* the adjuster.
Then I put the other spring, and get the other shoe (not yet on the round bottom end) put the spring and then I pull the shoe with the spring on until it goes in the round end on the bottom.
And this is the final result
Now it seems level, which hasn't been in a long time (back end was all the way down almost on the tops).